About Us
apply applications
Contact Us
Disclaimer
Privacy Policy
public development
submit application
Terms and Conditions
Connect with us
Webrafts
Home
Study Guide
Scholarships
Visa
Schools in USA
Culinary Schools
Dental Schools
Fashion Schools
Law Schools
Massage Therapy Schools
Music Schools
Trade Schools
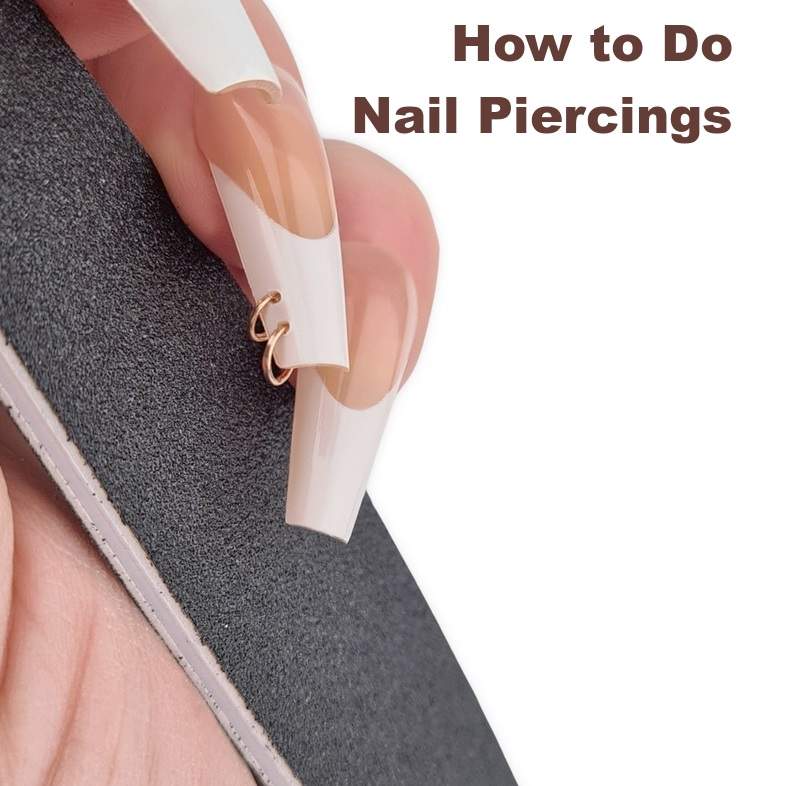
How to Do Nail Piercings (Safely)
Share
Tweet
How to Do Nail Piercings (Safely)
Pierced nails.
Share
Tweet
To Top