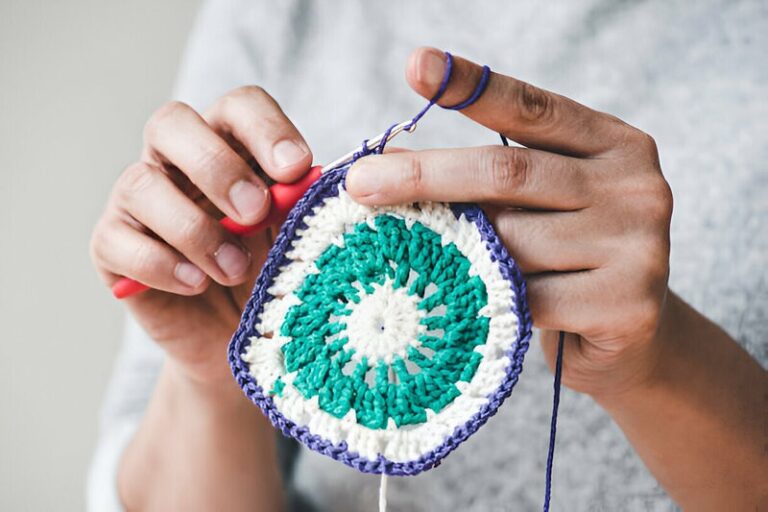
The magic ring, also known as the magic circle, is a game-changer for crocheters. It’s a technique used to create a tight, adjustable center for projects crocheted in the round, like amigurumi (stuffed toys), amigurumi baskets, hats, and granny squares.
Unlike the traditional chain method, the magic ring eliminates that pesky hole in the center, leaving a clean and professional finish.
This guide will walk you through the magic ring technique in simple steps, making it perfect for beginners and experienced crocheters alike. We’ll break down the process with clear instructions and helpful visuals to get you crocheting beautiful, seamless projects in no time.
Quick Navigation:
Why Use the Magic Ring / Circle?
Traditional crochet projects often begin with a chain of stitches, which is then joined to form a ring. While this works, it can leave a noticeable hole in the center of your project.
The magic ring solves this problem by creating a seamless, adjustable loop that closes up perfectly as you work your first round of stitches.
Here are some key benefits of using the magic ring:
- No Hole in the Center: The magic ring creates a tight, closed circle, eliminating the hole that often appears when using chains. This is particularly important for amigurumi projects, where a hole can disrupt the shape and look of your creation.
- Adjustable Size: As you crochet your first round of stitches into the magic ring, you can gently adjust the tightness of the loop to achieve the perfect starting size for your project.
- Stronger Foundation: The magic ring creates a more secure foundation for your stitches compared to the chain method. This leads to a sturdier project that’s less prone to unraveling.
- Clean and Professional Look: The magic ring eliminates the need for bulky starting chains or awkward chain adjustments, resulting in a neater and more professional-looking project.
What You’ll Need
- Yarn
- Crochet hook (size appropriate for your yarn)
How to Crochet a Magic Ring (Magic Circle) in 9 Steps
Now that you understand the benefits of the magic ring, let’s dive into the simple steps to create it:
Here’s how to crochet the magic ring:
- Hold the yarn: Hold the working yarn (the yarn coming from the ball) in your non-dominant hand (usually the left hand) with a tail extending.
- Form the X: Wrap the working yarn around your first two fingers (index and middle finger) two or three times, creating an “X” shape on the back of your hand.
- Secure the loop: Pinch the bottom strand of the “X” between your thumb and index finger to hold it in place.
- Insert the hook: With your crochet hook in your dominant hand, insert it under the top two strands of the “X” from right to left.
- Grab the yarn: Grab the working yarn tail with your hook and pull it under the top two strands, bringing it up through the loop on your hook. This creates a new loop on your hook.
- Chain as instructed: Now, with the new loop on your hook, chain the number of stitches your pattern calls for (typically 3-6 chains).
- Work into the ring: Here comes the magic! Insert your hook back into the center of the ring you just created (between the loops you’ve chained).
- Tighten the magic: While holding the working yarn with your non-dominant hand, gently pull on the tail end of the yarn with your other hand. This will tighten the loop and close the magic ring.
- Continue crocheting: Congratulations, your magic ring is complete! Now, you can continue crocheting your first round of stitches directly into the center of the magic ring. Remember to work each stitch into the top two loops on your hook.
Tips:
- Don’t pull too tightly when creating the initial loop or the magic ring might become difficult to close.
- Practice makes perfect! The more you make the magic ring, the easier and smoother it becomes.
- If the opening of the magic ring appears too large, simply pull the yarn ends a bit tighter before starting your first round of stitches.
Visual Aid:
For a clearer understanding of the magic ring technique, check out this helpful YouTube video tutorial that demonstrates the steps visually:
Beyond the Basics: Advanced Magic Ring Techniques
Once you’ve mastered the basic magic ring, you can explore some advanced techniques to further enhance your crocheting skills:
- The Double Magic Ring: This technique creates an even more secure foundation for your project, particularly useful for thicker yarns or amigurumi projects. It involves creating two loops instead of one and crocheting into both loops simultaneously.
- The Invisible Magic Ring: This method hides the starting chain completely, resulting in a seamless and invisible join where the round begins. It’s a great option for projects where a perfectly smooth finish is desired.
Frequently Asked Questions (FAQ)
Q: How many fingers should I use to make the loop?
A: You can use two or three fingers for the loop. Experiment and see what feels most comfortable for you.
Q: My magic ring keeps coming undone. What am I doing wrong?
A: There could be a couple of reasons. Make sure you’re not pulling too tightly when creating the initial loop. Also, ensure you’re grabbing the working yarn with your hook when securing the loop.
Q: Can I use the magic ring for all crochet projects?
A: The magic ring is ideal for projects crocheted in the round. For flat projects worked in rows, the chain method might be more suitable.
Q: Is the magic ring the same as a magic circle?
A: Yes, magic ring and magic circle are interchangeable terms used to describe the same crocheting technique.
Q: Can I use the magic ring with different yarn weights?
A: Absolutely! The magic ring can be used with any yarn weight. Just be sure to adjust the tightness of the loop and the size of your crochet hook to match the yarn thickness.
Conclusion: Embrace the Magic!
The magic ring is a valuable skill for any crocheter. It allows you to create beautiful, seamless projects with a professional finish. With a little practice and the tips provided in this guide, you’ll be mastering the magic ring in no time! So, grab your yarn and hook, and get ready to experience the magic for yourself!
Remember: Patience is key when learning new crochet techniques. Don’t get discouraged if it takes a few tries to get the hang of the magic ring. Keep practicing, and you’ll soon be creating flawless projects with this valuable skill in your crochet toolbox.